
How to Master Car Wrap Installation Techniques
Are you struggling with achieving a perfect car wrap installation? Many enthusiasts face challenges with placement and smoothness, leading to unsatisfactory results. In this guide, readers will learn about the car wrap installation process, effective preparation techniques, and how to avoid common mistakes during application. By mastering these skills, individuals can transform vehicles into stunning mobile advertisements or personal statements. This content will help solve the frustration of improper installation and ensure a flawless finish that showcases their vision.
Understanding the Car Wrap Installation Process
Correct surface preparation plays a crucial role in achieving a flawless vehicle vinyl wrap. Using isopropyl alcohol and microfiber cloths can help ensure the surface is clean and smooth. Choosing the right vinyl material is essential for durability and visual appeal. The appropriate tools streamline the installation process, contributing to the quality of the car wraps and enhancing the final result.
Importance of Correct Surface Preparation
Correct surface preparation is essential for a successful car wrap installation as it directly affects both the appearance and longevity of the wrap. Ensuring the vehicle‘s roof and other surfaces are free from wax, dirt, and debris will help the vinyl adhere properly and resist issues caused by ultraviolet exposure. Using a clean towel to apply isopropyl alcohol during the prep stage can eliminate contaminants, creating a smooth surface that can withstand pressure during the installation process.
Selecting the Right Vinyl Material
Selecting the right vinyl material is essential for achieving a successful car wrap installation. High-quality adhesives ensure that the wrap adheres securely to surfaces, such as metal hoods, while also promoting longevity and resistance to wear. Utilizing a heat gun during installation can help to mold the vinyl around curves, enhancing the wrap’s overall appearance and ensuring that it remains intact over time, even under challenging environmental conditions.
Tools Needed for a Successful Installation
For a successful car wrap installation, having the right tools on hand is crucial. Essential items include squeegees for smoothing out air bubbles and ensuring the vinyl lays flat, as well as a heat gun to adapt materials like gloss and carbon wraps around intricate curves. To prevent unwanted debris and dirt from compromising the finish, meticulous preparation of the workspace and materials is vital; neglecting this step can lead to installation issues and affect the final result. Those interested in transforming their vehicles can seek a free quote to understand the services available, allowing them to make informed decisions on their custom wraps.
Preparing for Car Wrap Application
Thoroughly cleaning the vehicle surface is essential for achieving an effective car wrap application, as it ensures optimal adhesion of the ink to the plastic substrate. Accurate measuring and cutting of the vinyl are crucial steps, particularly when managing curves around intricate areas. Identifying challenging spots on the vehicle, such as panels on a food truck or sharp edges, helps in planning the installation strategy for a flawless finish.
Cleaning the Vehicle Surface Thoroughly
Cleaning the vehicle surface thoroughly is a fundamental step in mastering car wrap installation techniques. A clean surface ensures optimal adhesion for custom car wraps, preventing issues caused by dust or contaminants. Utilizing a squeegee during application helps smooth out any air bubbles that may form, while a utility knife is essential for precise cutting, especially when positioning intricate features. Additionally, applying paint protection film before the wrap can offer an extra layer of defense, preserving the vehicle‘s finish and enhancing the overall look of the car wrap.
Measuring and Cutting the Vinyl Accurately
Accurate measuring and cutting of the vinyl are critical steps in the car wrap installation process, ensuring that every inch fits precisely on the vehicle‘s surface. Careful attention should be paid to complex areas such as the fender, where small adjustments can prevent unsightly wrinkles from forming during application. Using a straightedge and a sharp utility knife allows for clean cuts, which is vital for creating seamless decals that enhance the vehicle‘s overall appearance and branding.
Identifying Challenging Areas on the Vehicle
Identifying challenging areas on the vehicle is a crucial step in mastering car wrap installation techniques. Attention should be given to complex spots, such as edges, seams, and curves, which can complicate the application of fiber graphics. Properly assessing these areas in advance enables the installer to develop strategies that ensure smooth vinyl wrapping, minimizing the risk of wrinkles or bubbles and enhancing the visual impact of the graphics.
Techniques for Seamless Vinyl Application
Mastering car wrap installation techniques involves several key practices to ensure a flawless finish. Laying down vinyl without air bubbles is essential for maintaining a clean look, while using heat allows the vinyl to conform smoothly to curved surfaces. Additionally, employing proper techniques for edges and corners enhances durability and overall appearance. Each of these strategies plays a significant role in achieving professional results.
Laying Down Vinyl Without Air Bubbles
To achieve a seamless vinyl application and eliminate air bubbles, installers should lay the vinyl down gradually while applying consistent pressure with a squeegee. This method not only helps to push out air but also ensures that the vinyl adheres evenly to the surface. Installers can also use a heat gun lightly on the edges and curves to help the material conform better, allowing for a smooth finish that enhances the vehicle‘s overall appearance.
Using Heat to Conform Vinyl to Curved Surfaces
Using heat during car wrap installation is essential for ensuring that vinyl conforms smoothly to curved surfaces. A heat gun can be applied lightly to the vinyl, allowing it to become more flexible and easier to mold around edges and contours. This technique not only enhances adhesion but also significantly reduces the chances of wrinkles and bubbles, resulting in a polished, professional-looking finish that showcases the vehicle‘s branding effectively.
Proper Techniques for Edges and Corners
Proper techniques for handling edges and corners during car wrap installation are vital for achieving a seamless look. Installers should carefully stretch the vinyl around these areas, ensuring it adheres firmly without creating wrinkles. Using a heat gun on the edges softens the vinyl, allowing for better conformity to challenging shapes and reducing the risk of damage over time.
Common Mistakes to Avoid
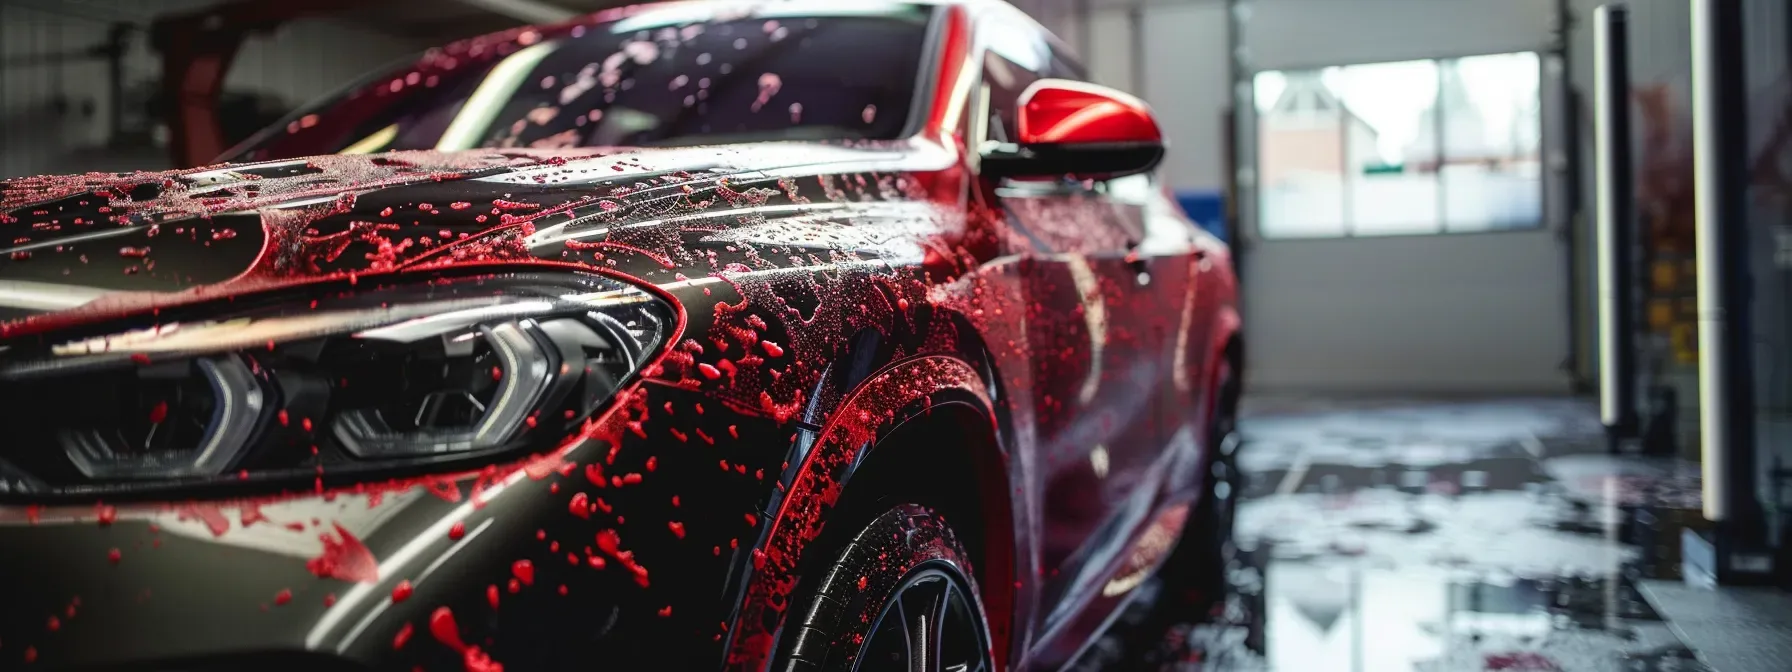
Neglecting surface preparation is a common mistake that can lead to poor adhesion, undermining the quality of car wrap installations. Improper vinyl stretching techniques may create wrinkles and bubbles, while overlooking environmental conditions can impact the effectiveness of the application. Addressing these issues ensures a seamless finish and enhances the overall durability and appeal of the wrap.
Neglecting Surface Preparation Issues
Neglecting surface preparation is a critical mistake that can undermine the entire car wrap installation process. A clean surface ensures that the vinyl adheres properly, preventing issues such as bubbles and peeling over time. By thoroughly cleaning the vehicle and using isopropyl alcohol, installers can create a smooth foundation that enhances the durability and appearance of the wrap, ultimately leading to a more successful outcome.
Improper Vinyl Stretching Techniques
Improper vinyl stretching techniques can lead to significant issues during car wrap installation, including wrinkles and bubbles that compromise the final appearance. It is vital for installers to avoid excessive stretching, which may cause the material to lose its elasticity and result in an uneven finish. By applying controlled pressure and using a heat gun strategically, installers can ensure that the vinyl conforms smoothly to complex areas, preserving both the aesthetic and longevity of the wrap.
Overlooking Environmental Conditions During Application
Overlooking environmental conditions during a car wrap application can lead to significant challenges that undermine the entire installation process. Factors such as temperature, humidity, and even sunlight can affect the vinyl’s adhesive properties; for instance, applying wrap in extremely cold or damp conditions can cause it to lose its ability to adhere properly. Installers should always check the weather and work in an environment that meets the vinyl manufacturer’s recommendations to ensure optimal results and the longevity of the wrap.
Tips for Achieving Flawless Results
Mastering car wrap installation techniques requires understanding best practices for working with vinyl, emphasizing the importance of patience and precision, and recognizing the significance of post-installation care and maintenance. Each area contributes to the overall success of the wrap, ensuring longevity and a professional appearance. This section will provide practical insights into effective methods that enhance results and safeguard the quality of the wrap over time.
Best Practices for Working With Vinyl
To achieve flawless results when working with vinyl, installers should prioritize cleanliness and precision at every stage of the process. Ensuring surfaces are free of contaminants, using tools like squeegees to smoothly apply the vinyl, and carefully measuring each section will lead to a more professional finish. Furthermore, applying heat where necessary allows the vinyl to conform effortlessly to curves and contours, enhancing both the appearance and longevity of the wrap.
Importance of Patience and Precision
Patience and precision are essential components in the car wrap installation process. Taking the time to carefully align the vinyl ensures a professional finish that enhances the vehicle‘s overall appearance. Installers should focus on making incremental adjustments, particularly around complex areas, to avoid mistakes that could affect the wrap’s longevity and visual impact.
Post-Installation Care and Maintenance
Post-installation care and maintenance are crucial for preserving the appearance and longevity of custom vehicle wraps. Owners should avoid washing the vehicle for at least 72 hours after installation to allow the adhesive to fully bond. Regular cleaning with a mild soap solution and a soft cloth will keep the wrap looking fresh, while avoiding abrasive materials ensures that the vinyl remains intact and visually appealing over time.
Analyzing Car Wrap Installation Videos for Guidance
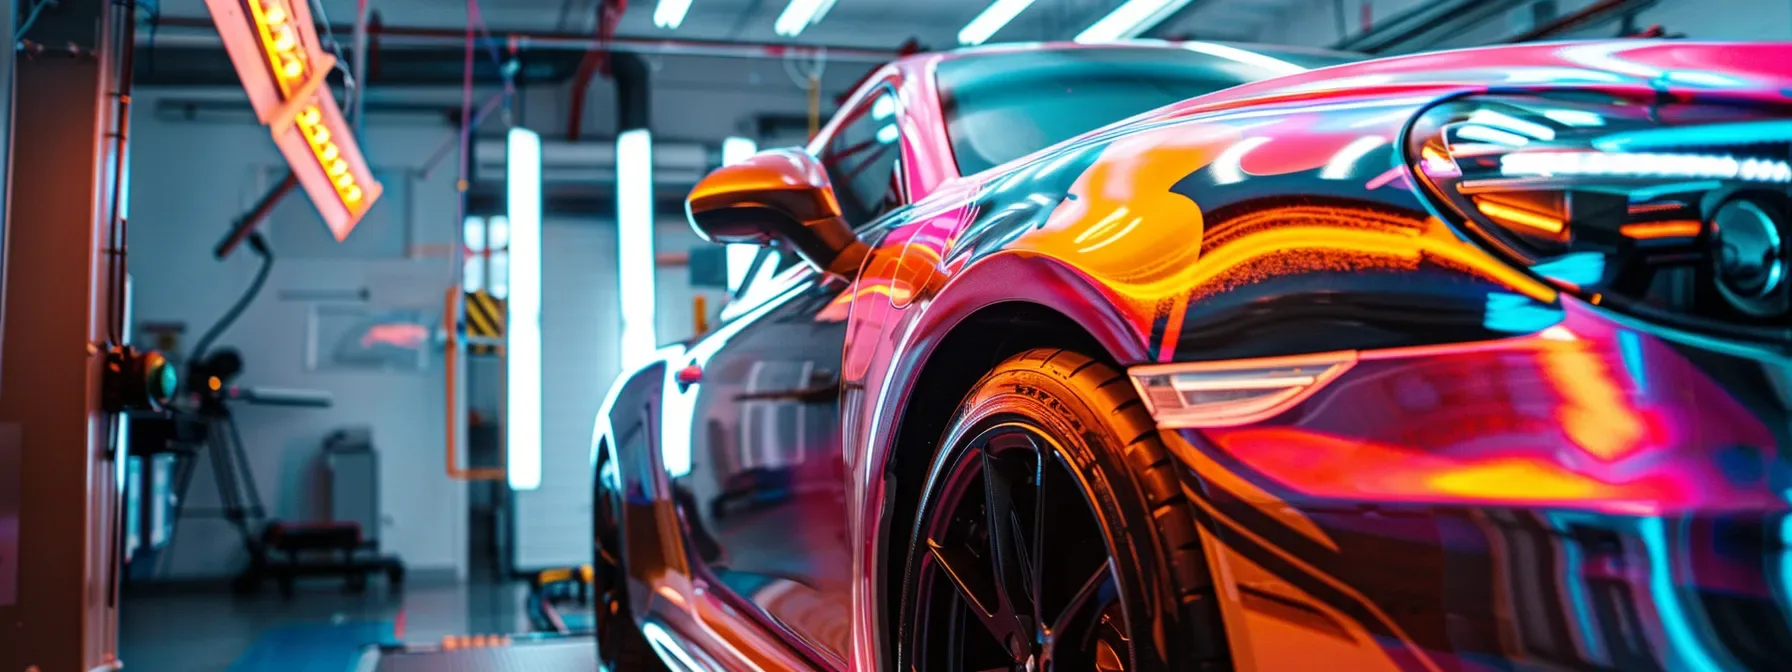
Car wrap installation videos provide valuable insights for mastering techniques that ensure a flawless finish. These expert tutorials highlight key techniques, from smoothing vinyl to handling edges, essential for achieving professional results. Additionally, they address various application scenarios, helping installers prepare for unique challenges and enhancing their skills throughout the installation process.
Learning From Expert Tutorials
Learning from expert tutorials on car wrap installation can significantly enhance the skills of installers. These videos offer practical demonstrations of techniques, from surface preparation to the final application, highlighting common challenges and effective solutions. By observing professionals in action, aspiring installers can gain insights into best practices and tips that lead to a polished, high-quality finish, ultimately improving their own project outcomes.
Identifying Key Techniques Demonstrated
Identifying key techniques demonstrated in car wrap installation videos is essential for honing skills and achieving professional-level results. These videos often showcase vital steps, such as effective surface preparation, proper vinyl application methods, and handling challenging areas like curves and edges. By observing these techniques in action, aspiring installers can gain practical insights that simplify the installation process and address common issues, ultimately leading to a flawless finish.
Understanding Different Application Scenarios
Understanding different application scenarios is vital for successful car wrap installation. Various vehicles and surfaces present unique challenges, such as curves, edges, and complex angles that require tailored techniques. Watching installation videos allows aspiring installers to observe how professionals handle these specific situations, offering valuable insights into methods that ensure flawless application and optimal results.
Conclusion
Mastering car wrap installation techniques is essential for achieving a flawless and durable finish that enhances the aesthetic appeal of any vehicle. Proper surface preparation, selecting the right materials, and employing effective tools play critical roles in the overall success of the process. Attention to detail, particularly when addressing curves and edges, ensures a professional result that withstands various environmental conditions. By embracing best practices and seeking guidance through expert tutorials, installers can significantly improve their skills and deliver exceptional outcomes for both personal and commercial vehicles.